Tile
Wood-Look Tile in Roseville and Chico: Porcelain, Ceramic, Layout, and Installation
Wood-look tile combines the visual rhythm of planks with the performance of ceramic or porcelain tile. Its success depends on more than selecting a convincing print. Tile variation, substrate flatness, offset, grout color, movement accommodation, and installation quality determine whether the finished floor looks natural and performs well.
Is porcelain or ceramic better for wood-look tile?
Porcelain is often better for demanding wood-look tile floors, wet areas, and some exterior applications when the product is rated for that use. Porcelain is a type of ceramic tile manufactured to meet specific water-absorption criteria. Non-porcelain ceramic wood-look tile can be appropriate for many interior floors and walls. The product box and technical data—not appearance—tell you where the wood-look tile is intended to be installed.
The choice should be based on the product's rated use, absorption, strength, surface, and technical data—not the word 'porcelain' alone. A showroom specialist can help compare specifications for interior floors, showers, exterior areas, or walls and identify the setting materials and substrate each application requires.
How many wood-look tile planks should I view before choosing a design?
View multiple wood-look tile planks from the same series before choosing because a single sample may not show the full color range, knot pattern, grain repeat, or shade variation. Ask the showroom to display enough pieces to reveal the print repeat, and mix wood-look tile from multiple cartons during installation as the manufacturer directs.
Ask to see a broad sample spread rather than several nearly identical pieces from one display board. The local team can open multiple cartons or use manufacturer imagery to evaluate shade range, face count, knot frequency, plank length, and whether the repeat will be noticeable in the planned room.
How flat does the substrate need to be for wood-look tile?
The substrate for wood-look tile must meet the tile manufacturer’s and installation standard’s flatness requirements, which can be especially strict for long, large-format planks. Long wood-look tile can have inherent warpage, and even a small high or low area can create lippage between edges. Proper evaluation and substrate preparation happen before mortar is spread.
Flatness should be measured across the actual installation area before tile is ordered or scheduled. An installer can document high and low areas, estimate corrective work, and determine whether the substrate also needs crack isolation, movement accommodation, or other preparation beyond simple patching.
What offset pattern is best for wood-look tile?
A one-third offset is common for wood-look tile, but the best offset is the one permitted by the exact tile manufacturer after the plank’s warpage and size are evaluated. A 50-percent brick offset can place the highest point of one plank beside the lowest point of the next, making lippage more noticeable. Lay out several dry wood-look tile planks with the planned grout joint before approving the pattern.
Offset decisions should be made with the physical tile on a flat surface. The team can dry-lay several planks, measure warpage, compare one-third and randomized patterns, and show how lighting across the floor makes lippage more or less visible.
What grout color and joint width should I use with wood-look tile?
Use a grout color close to the wood-look tile when you want the floor to read as continuous wood, or use a contrasting grout when you want each tile to stand out. The grout-joint width must follow the tile’s sizing, variation, manufacturer instructions, and installation standards. The chosen grout also needs a realistic cleaning and maintenance plan.
Grout should be tested beside several tiles because color can shift as it dries and can look different under warm or cool lighting. The store can help compare grout samples, maintenance expectations, sealers when applicable, and the joint width permitted by product variation and installation standards.
Which wood-look tile layout is best: straight lay, staggered offset, or herringbone?
- Straight lay: calm, efficient, and well suited to narrow planks or modern rooms.
- Staggered offset: familiar wood-floor rhythm; confirm the allowed offset for the exact tile.
- Herringbone: a strong focal pattern that requires more layout time, perimeter cuts, and material allowance.
Layout should respond to the room's focal point, proportions, entries, cabinets, and unavoidable cuts. A renovation or installation specialist can create a scaled layout or jobsite mockup, then calculate the additional material and labor required for herringbone or other complex patterns.
Where does wood-look tile work best in a home?
Wood-look tile works especially well in bathrooms, kitchens, entries, laundry rooms, and high-sun areas where durability and water tolerance are priorities. Review Roseville tile options for a flooring-focused project. For a coordinated kitchen or bathroom renovation, California Renovation can align wood-look tile with cabinets, countertops, waterproofing, and the construction sequence.
Wood-look tile is especially useful where a continuous wood visual is desired but heat, sun, water, or heavy use changes the performance priorities. Roseville and Chico teams can compare it with hardwood and LVP so the homeowner understands comfort, sound, grout, repair, and installation tradeoffs.
What installation questions should I ask before buying wood-look tile?
- Is this wood-look tile rated for the planned floor, wet area, or exterior location?
- How flat must the substrate be for this wood-look tile, and what preparation is included?
- What offset and grout-joint range does the wood-look tile manufacturer require?
- How will movement joints and changes of plane be handled in the wood-look tile installation?
- What slip-resistance information is available for this wood-look tile in the intended room?
- How much extra wood-look tile should be retained for future repair?
Start at Roseville Carpet One or Chico Carpet One / California Renovation with room photos, measurements, inspiration images, and samples of finishes that will remain.
Installation questions should be resolved in writing before work begins. The proposal should identify substrate preparation, layout approval, movement joints, grout and setting materials, waterproofing where needed, attic stock, cleanup, cure time, and the person responsible for approving concealed-condition changes.
How can our local teams help plan a wood-look tile installation?
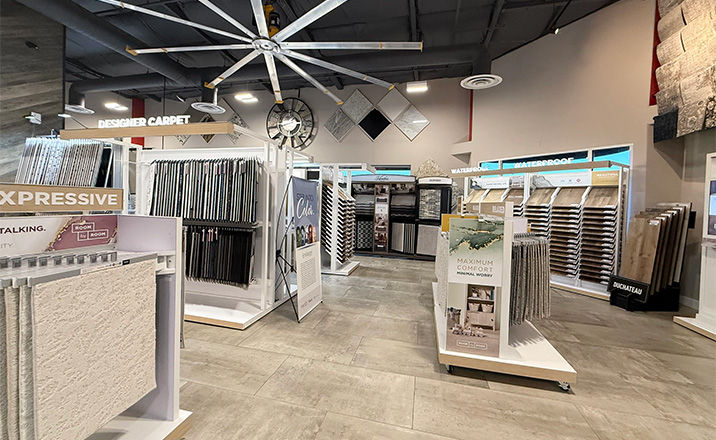
Roseville Carpet One and Chico Carpet One can help customers compare porcelain and ceramic products, view a broader range of plank faces, evaluate shade variation, and coordinate grout color, joint width, layout, slip information, and maintenance. A professional site evaluation can identify substrate preparation and transition concerns before tile and setting materials are ordered.
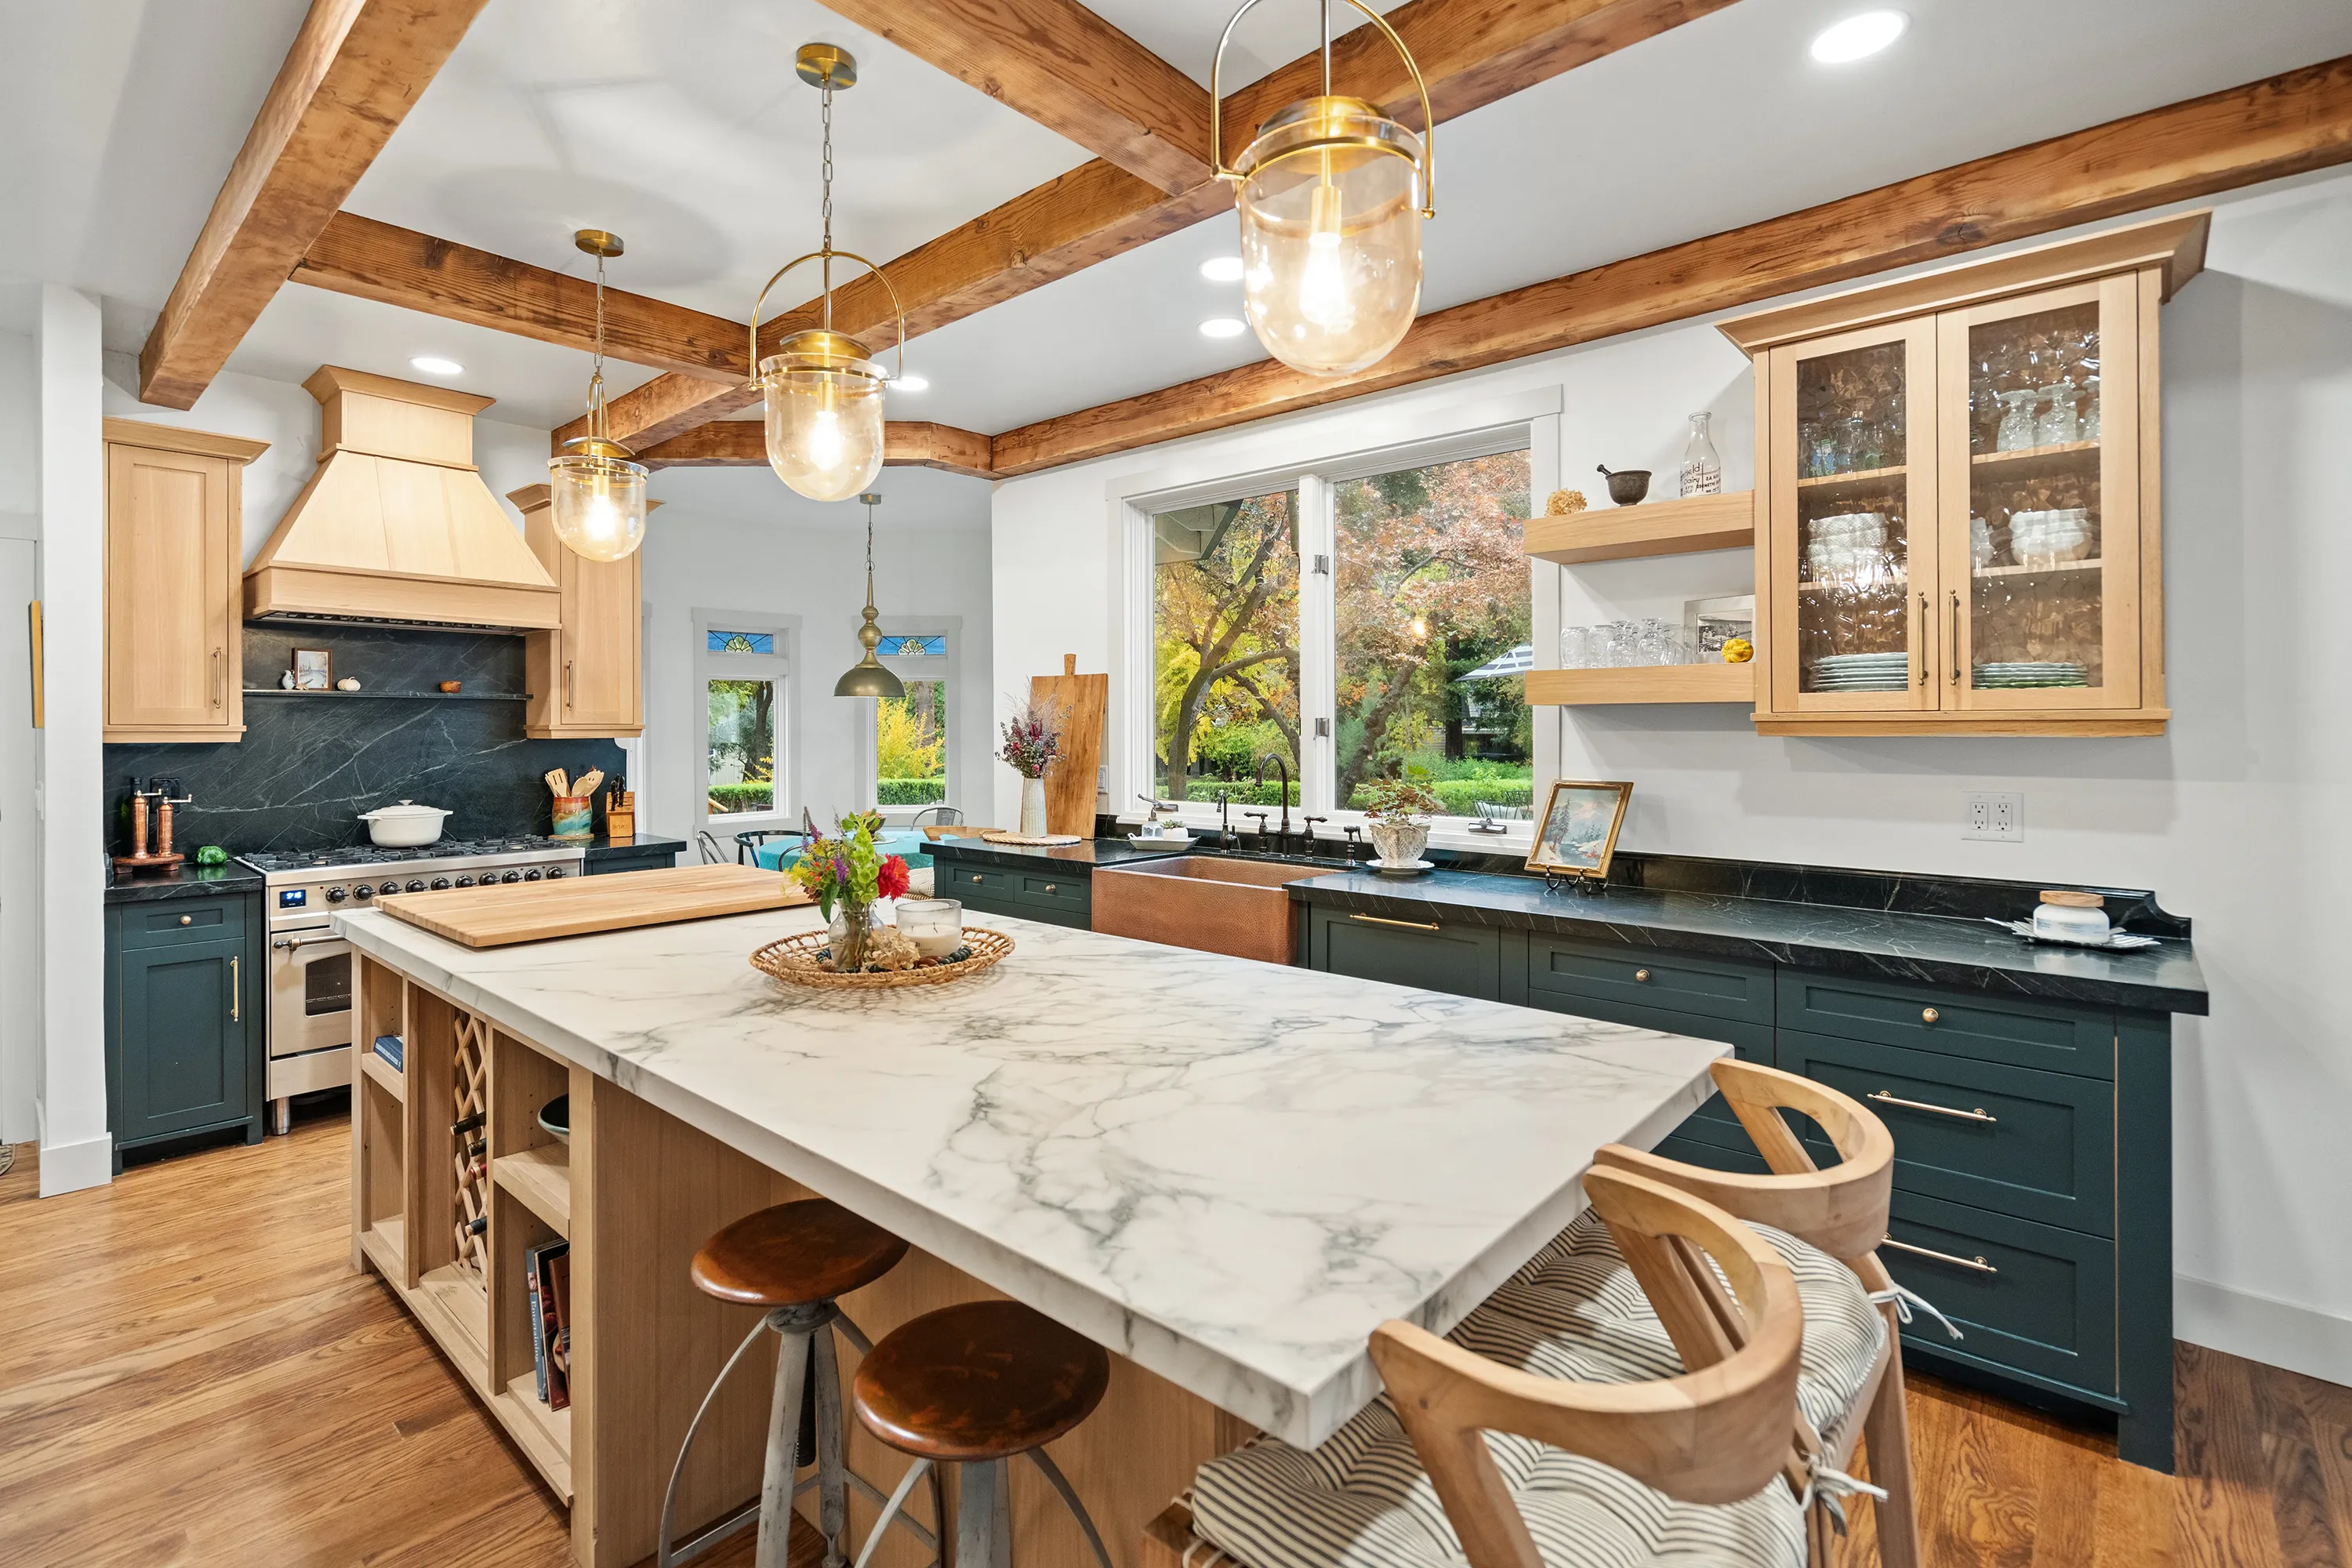
For kitchens, bathrooms, showers, or larger remodels, California Renovation can coordinate wood-look tile with waterproofing, cabinets, countertops, movement joints, trim, and the order of construction. The team can also build or review a jobsite mockup so the customer approves the actual tile mix, offset, grout, and lighting effect before the field is installed.
planning a flooring or renovation project?
Compare options with a local specialist in Chico or Roseville — and get a free in-home measure.
Request your estimateFind our showrooms